
How to Collect and Store Fall Leaves to Use for Mulch
How to Collect and Store Fall Leaves to Use for Mulch
Fall brings a colorful display of red, orange, yellow, and brown leaves to the landscape. While many homeowners rake them up and put them out for disposal, gardeners know that fallen leaves are a valuable, free resource. With a little preparation, you can collect and store autumn leaves to create natural mulch that protects garden soil, retains moisture, suppresses weeds, and adds organic matter as it breaks down. Instead of throwing away this seasonal treasure, save it now and put it to work in your garden throughout the year. So, grab your hot cup of Joe, don’t forget your trowel, and let’s dig in!!
Why Save Fall Leaves for Mulch?
Leaves are nature’s own soil amendment. As they decompose, they return nutrients and organic matter to the soil, helping improve its structure and supporting beneficial organisms such as earthworms and soil microbes.
A layer of leaf mulch can help regulate soil temperature, reduce moisture loss, and limit weed growth. In colder climates, it can also protect the roots of many perennial plants from repeated freezing and thawing. Leaf mulch is useful around trees and shrubs, in perennial beds, and in vegetable gardens when applied appropriately.
Saving leaves in the fall also reduces yard waste and helps you get more value from your property’s natural resources.
Step 1: Choose the Right Leaves
Not all leaves are equally suitable for garden mulch, so take a moment to choose what you collect.
Leaves from maple, birch, beech, ash, and many other healthy deciduous trees are generally useful. Oak leaves can also be used, although they tend to break down more slowly. Their slower decomposition can be an advantage when you want mulch that lasts longer.
Avoid collecting leaves from plants that show signs of serious disease, such as persistent fungal spots, rust, or unusual blights. Do not use leaves contaminated with herbicides or other chemicals if you cannot confirm they are safe for garden use. Keep pet waste, roadside debris, and trash out of your collection.
If your trees have had recurring disease problems, check local gardening guidance to determine whether their leaves should be discarded rather than composted or reused.
Step 2: Collect Leaves When They Are Dry
The easiest time to gather leaves is when they are dry or only slightly damp. Dry leaves are lighter, easier to rake, and less likely to form heavy, compacted clumps.
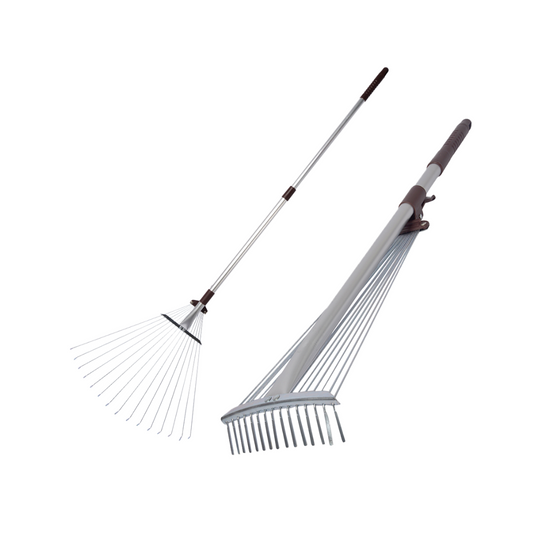
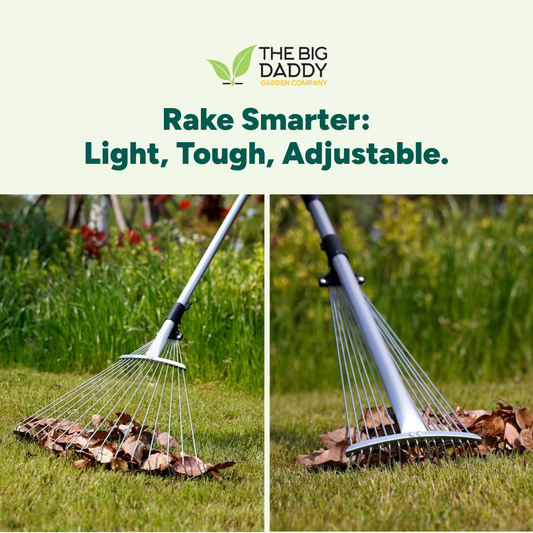
Choose a calm day when the leaves are not soaked from rain. Use a rake, leaf blower, tarp, or lawn mower with a collection bag to gather them. A tarp is particularly handy because you can rake leaves directly onto it and drag the pile to your storage area.
If you have a large lawn covered in leaves, consider mowing over them first. Chopping the leaves into smaller pieces makes them easier to handle and helps them break down more evenly later. Shredded leaves also tend to resist matting better than whole leaves.
Avoid leaving thick layers of whole leaves on the lawn for extended periods, as they can block sunlight and damage the grass.
Step 3: Shred Leaves Before Storing
Although whole leaves can be saved, shredding them usually produces better mulch. Large, flat leaves can stick together when wet, creating a dense layer that blocks air and water. Smaller pieces are easier to spread and tend to decompose more evenly.
A lawn mower with a mulching setting works well for many homeowners. You can also use a leaf shredder if you collect large quantities each year.
You do not need to turn every leaf into tiny fragments. Aim for a mixture of manageable pieces that will provide good coverage without forming a solid mat.
Step 4: Store Leaves Properly
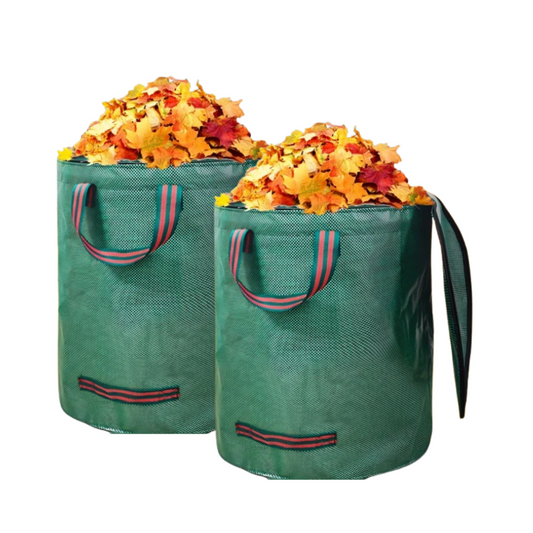
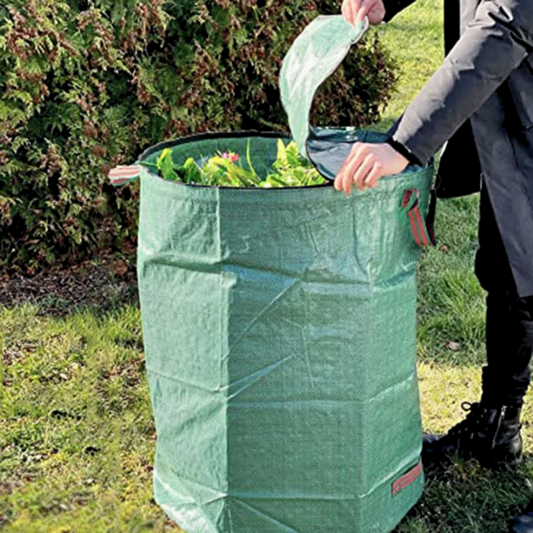
Choose a storage location that is convenient, reasonably sheltered, and allows excess moisture to drain. Good options include a wire-mesh enclosure, a breathable garden bag, or a simple leaf-storage bin.
Avoid sealing damp leaves in airtight plastic bags. Without adequate airflow, they can become slimy, develop unpleasant odors, or break down unevenly.
For dry storage, keep leaves loosely contained and protected from strong winds. If you want them to begin decomposing, lightly moisten them and store them in a ventilated bin. The leaves should feel damp like a wrung-out sponge, not waterlogged.
Labeling the container with the collection date can help you track how long the leaves have been stored.
Step 5: Use Your Leaf Mulch
You can use freshly collected, shredded leaves as mulch, or allow them to partially decompose first. Partly decomposed leaves are often easier to spread and less likely to blow away.
Apply a loose layer around trees, shrubs, and established perennials, keeping the mulch a few inches away from trunks and plant stems. In vegetable beds, spread leaves around established plants or use them to cover bare soil between growing seasons. Avoid piling thick, wet layers against crowns or stems, where excess moisture can encourage rot.
For winter protection, wait until the soil has cooled and plants are entering dormancy. Use leaves where they will not smother plants or create an overly dense covering.
Turn Autumn Leaves Into Next Season’s Garden Gold
Collecting and storing fall leaves is a simple way to save money, reduce yard waste, and improve your garden naturally. By choosing healthy leaves, shredding them, and storing them with suitable airflow, you can build a useful supply of mulch for the months ahead. This fall, think twice before bagging every leaf for disposal. Those colorful leaves can become a valuable resource that helps your garden stay healthier, retain moisture, and thrive in the seasons to come.